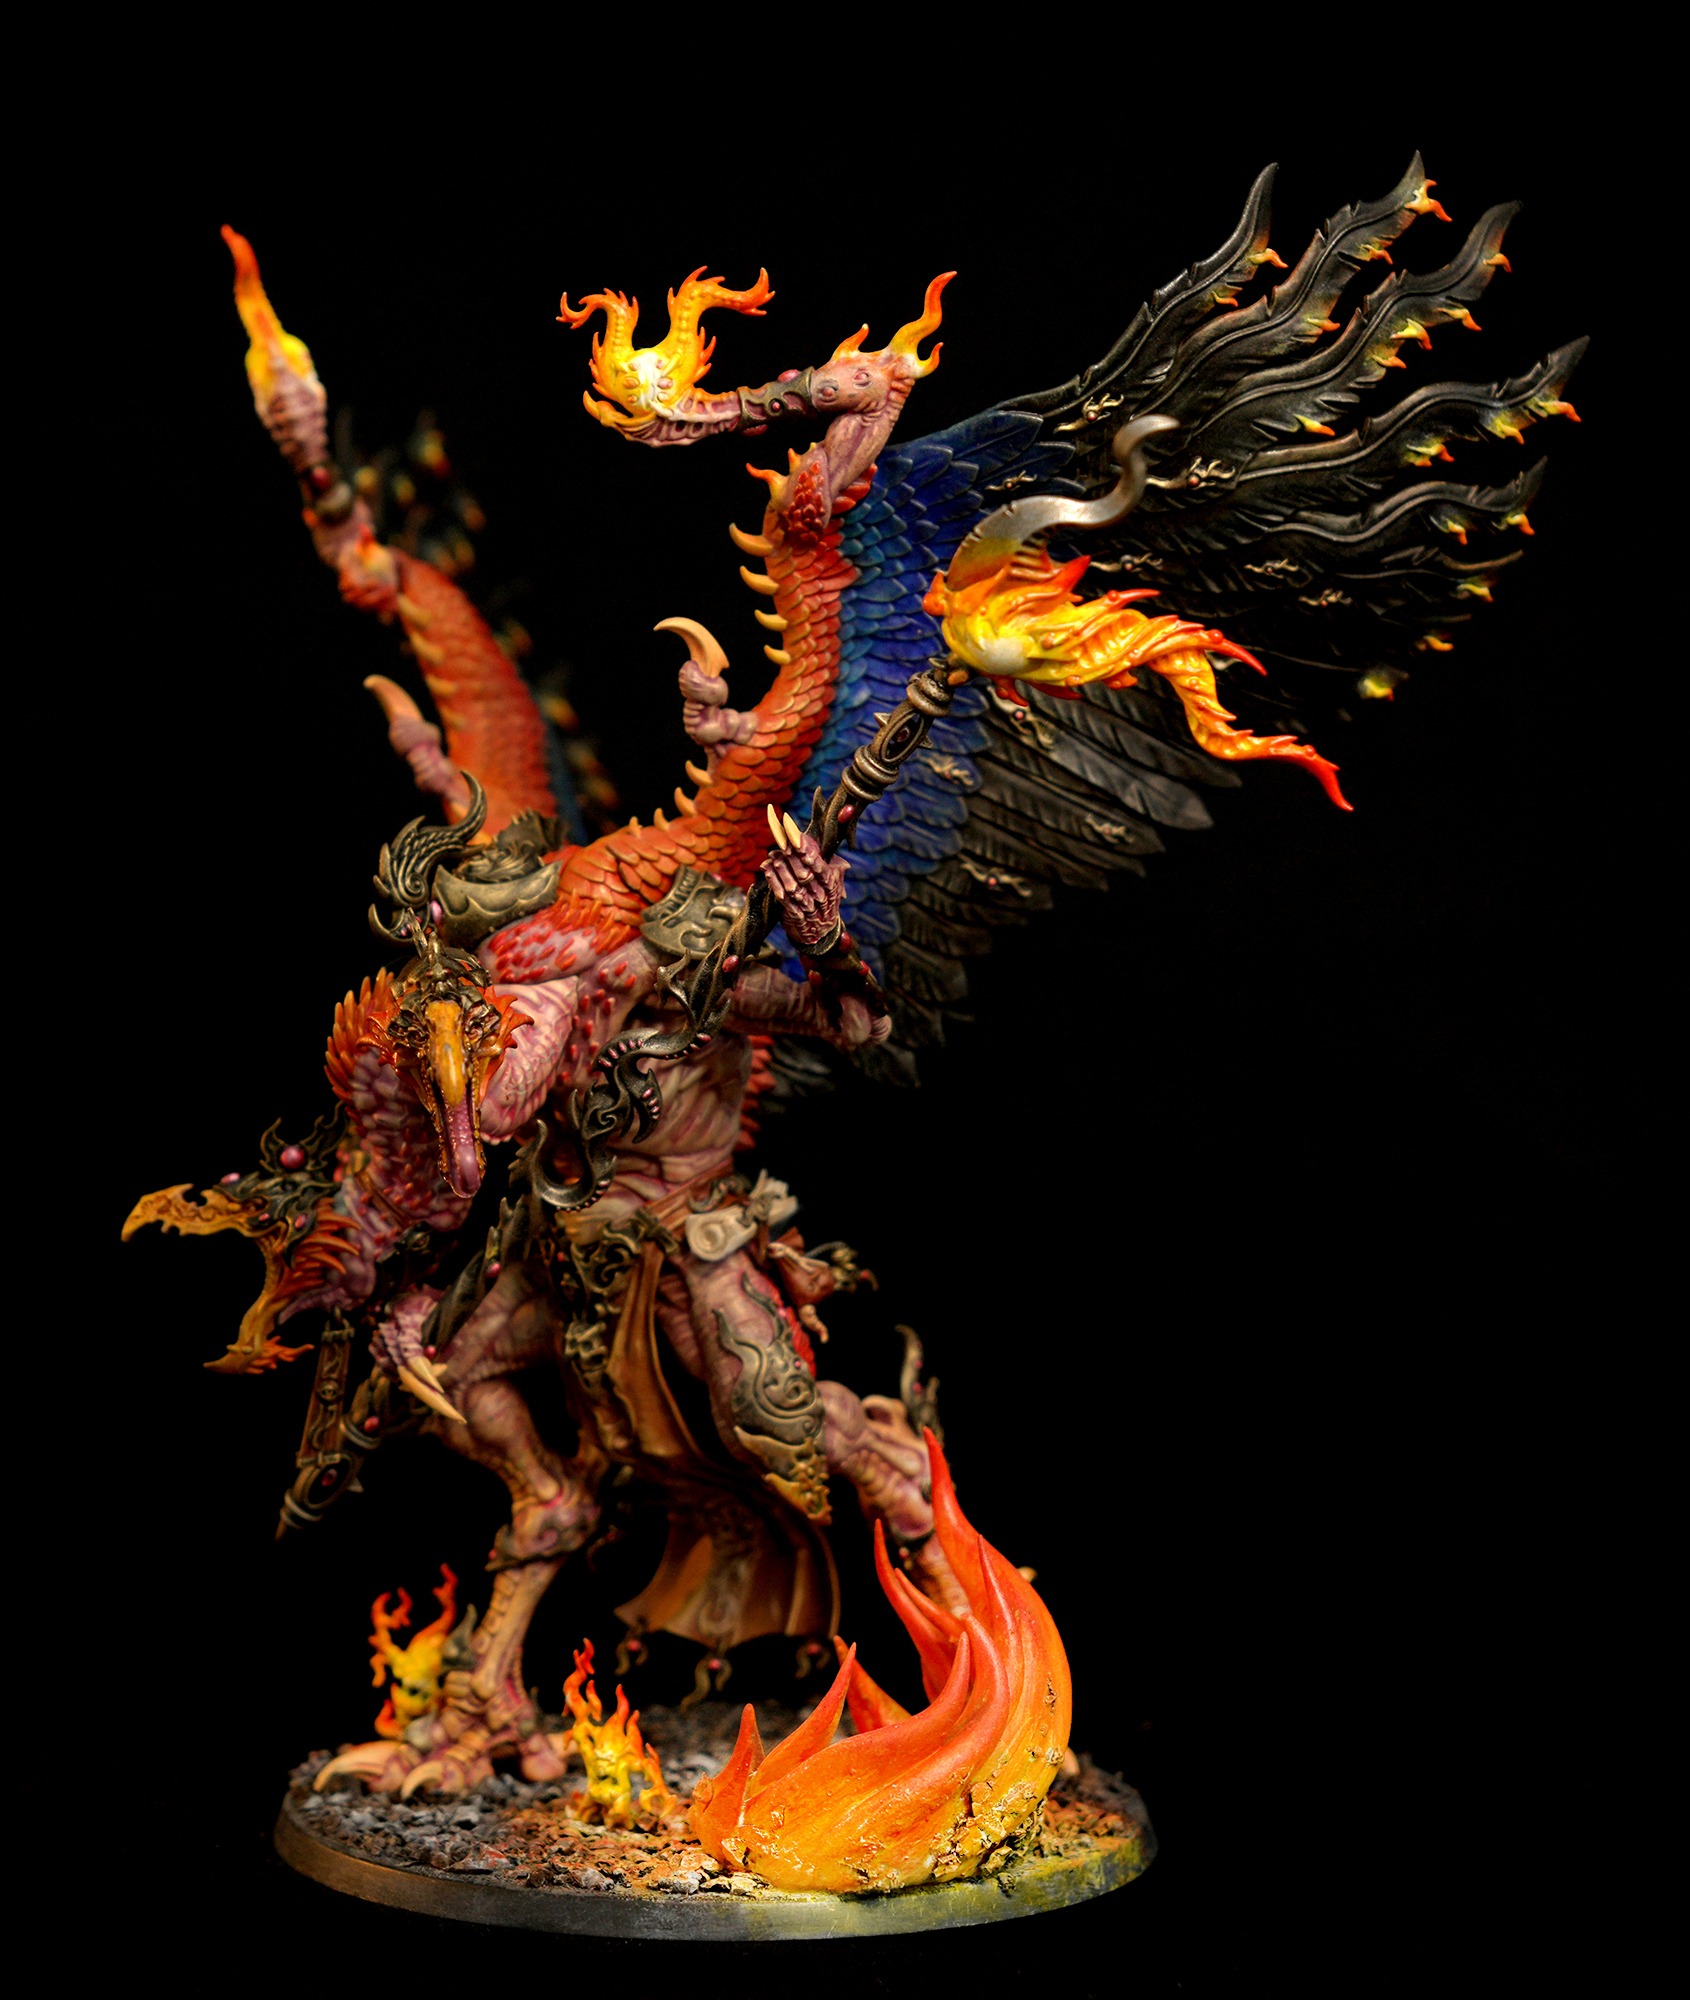
Only using primary colors and some basic tools

As with every project, I gather a bunch of reference images for inspiration and ideas of the color combinations to use.

I had to use multiple size magnets ranging from 1mm to 3mm for the different parts. The challenging part was making sure the magnets were stable, especially for the right forearm, which needs to come apart for interchange ability for dual and twin wield.


I used a phone app to scan in an assembled version of the model so I can import into a 3d sculpting program like Zbrush so I could sculpt the fire FX


I then 3d printed it in clear resin, cured and cleaned it up for use


I painted the skin using a purplish base color with a dry brushing of flesh tone. All created using the mixture of the primary colors


Armour is painted using a black base color with a bronze-gold dry brush
Looking at the references for flames, the colors are quite vibrant and yellow but the cast light is more orange-red hue

For flames I start out with a base color of white. Then working from the outer edges towards the centre, I add in yellow, then orange and finally. I added the orange hue over the cast light areas but I didn’t do it for every flame on the character as some of them were interchangeable. On hindsight, maybe I shouldn’t have gone for so many interchangeable options


The rooster feathers had a combination of both warm and cool colors. I wasn’t sure if the combination would work but I highlighted them using gold for the warm colors and silver for the cool colors


The details were mostly a combination of pencil colors, dry brushing and washes to exaggerate the sense of depth


For the base, I used dried coffee grounds with clear drying glue to simulate rocks and rubble. Painted a grey dry brush and the appropriate lighting casted by the flames


Check out the full set of photos under the gallery section


Leave a Reply
You must be logged in to post a comment.